Blog

The Benefits of Eco-Friendly Stains

In today’s more environmentally conscious world, eco-friendly stains have become a popular choice for home improvement and woodworking projects. Discover the benefits of eco-friendly stains and learn why many craftsmen swear by them.

Minimize Pollution

Eco-friendly stains are made from natural, renewable resources and have a lower carbon footprint in their production and disposal processes. This means less pollution in our waterways and reduced strain on ecosystems. By using an eco-friendly stain, you can transform your wooden projects into stunning works of art while actively contributing to environmental preservation.

Reduce Chemical Exposure

Traditional stains often contain toxic substances that can affect indoor air quality and people’s health. However, eco-friendly alternatives use natural ingredients and low-VOC formulas that keep your environment safe.

Achieve Comparable Results

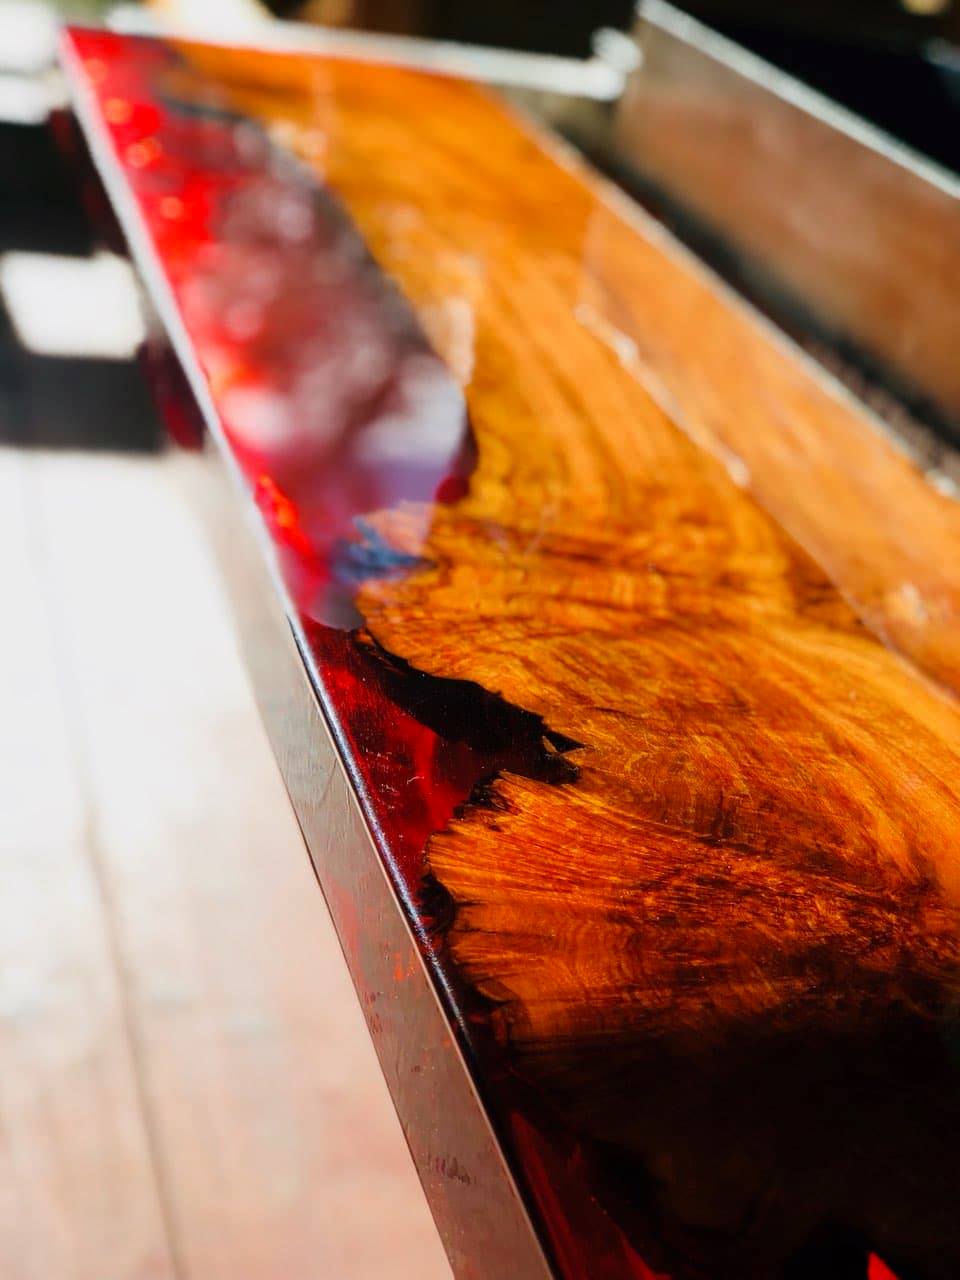
Many people worry that eco-friendly options might not perform as well as their traditional counterparts. However, modern eco-friendly stains have come a long way in terms of quality and durability. They offer excellent wood protection and rich, beautiful colors that rival any conventional stain on the market.

Create Custom Stains

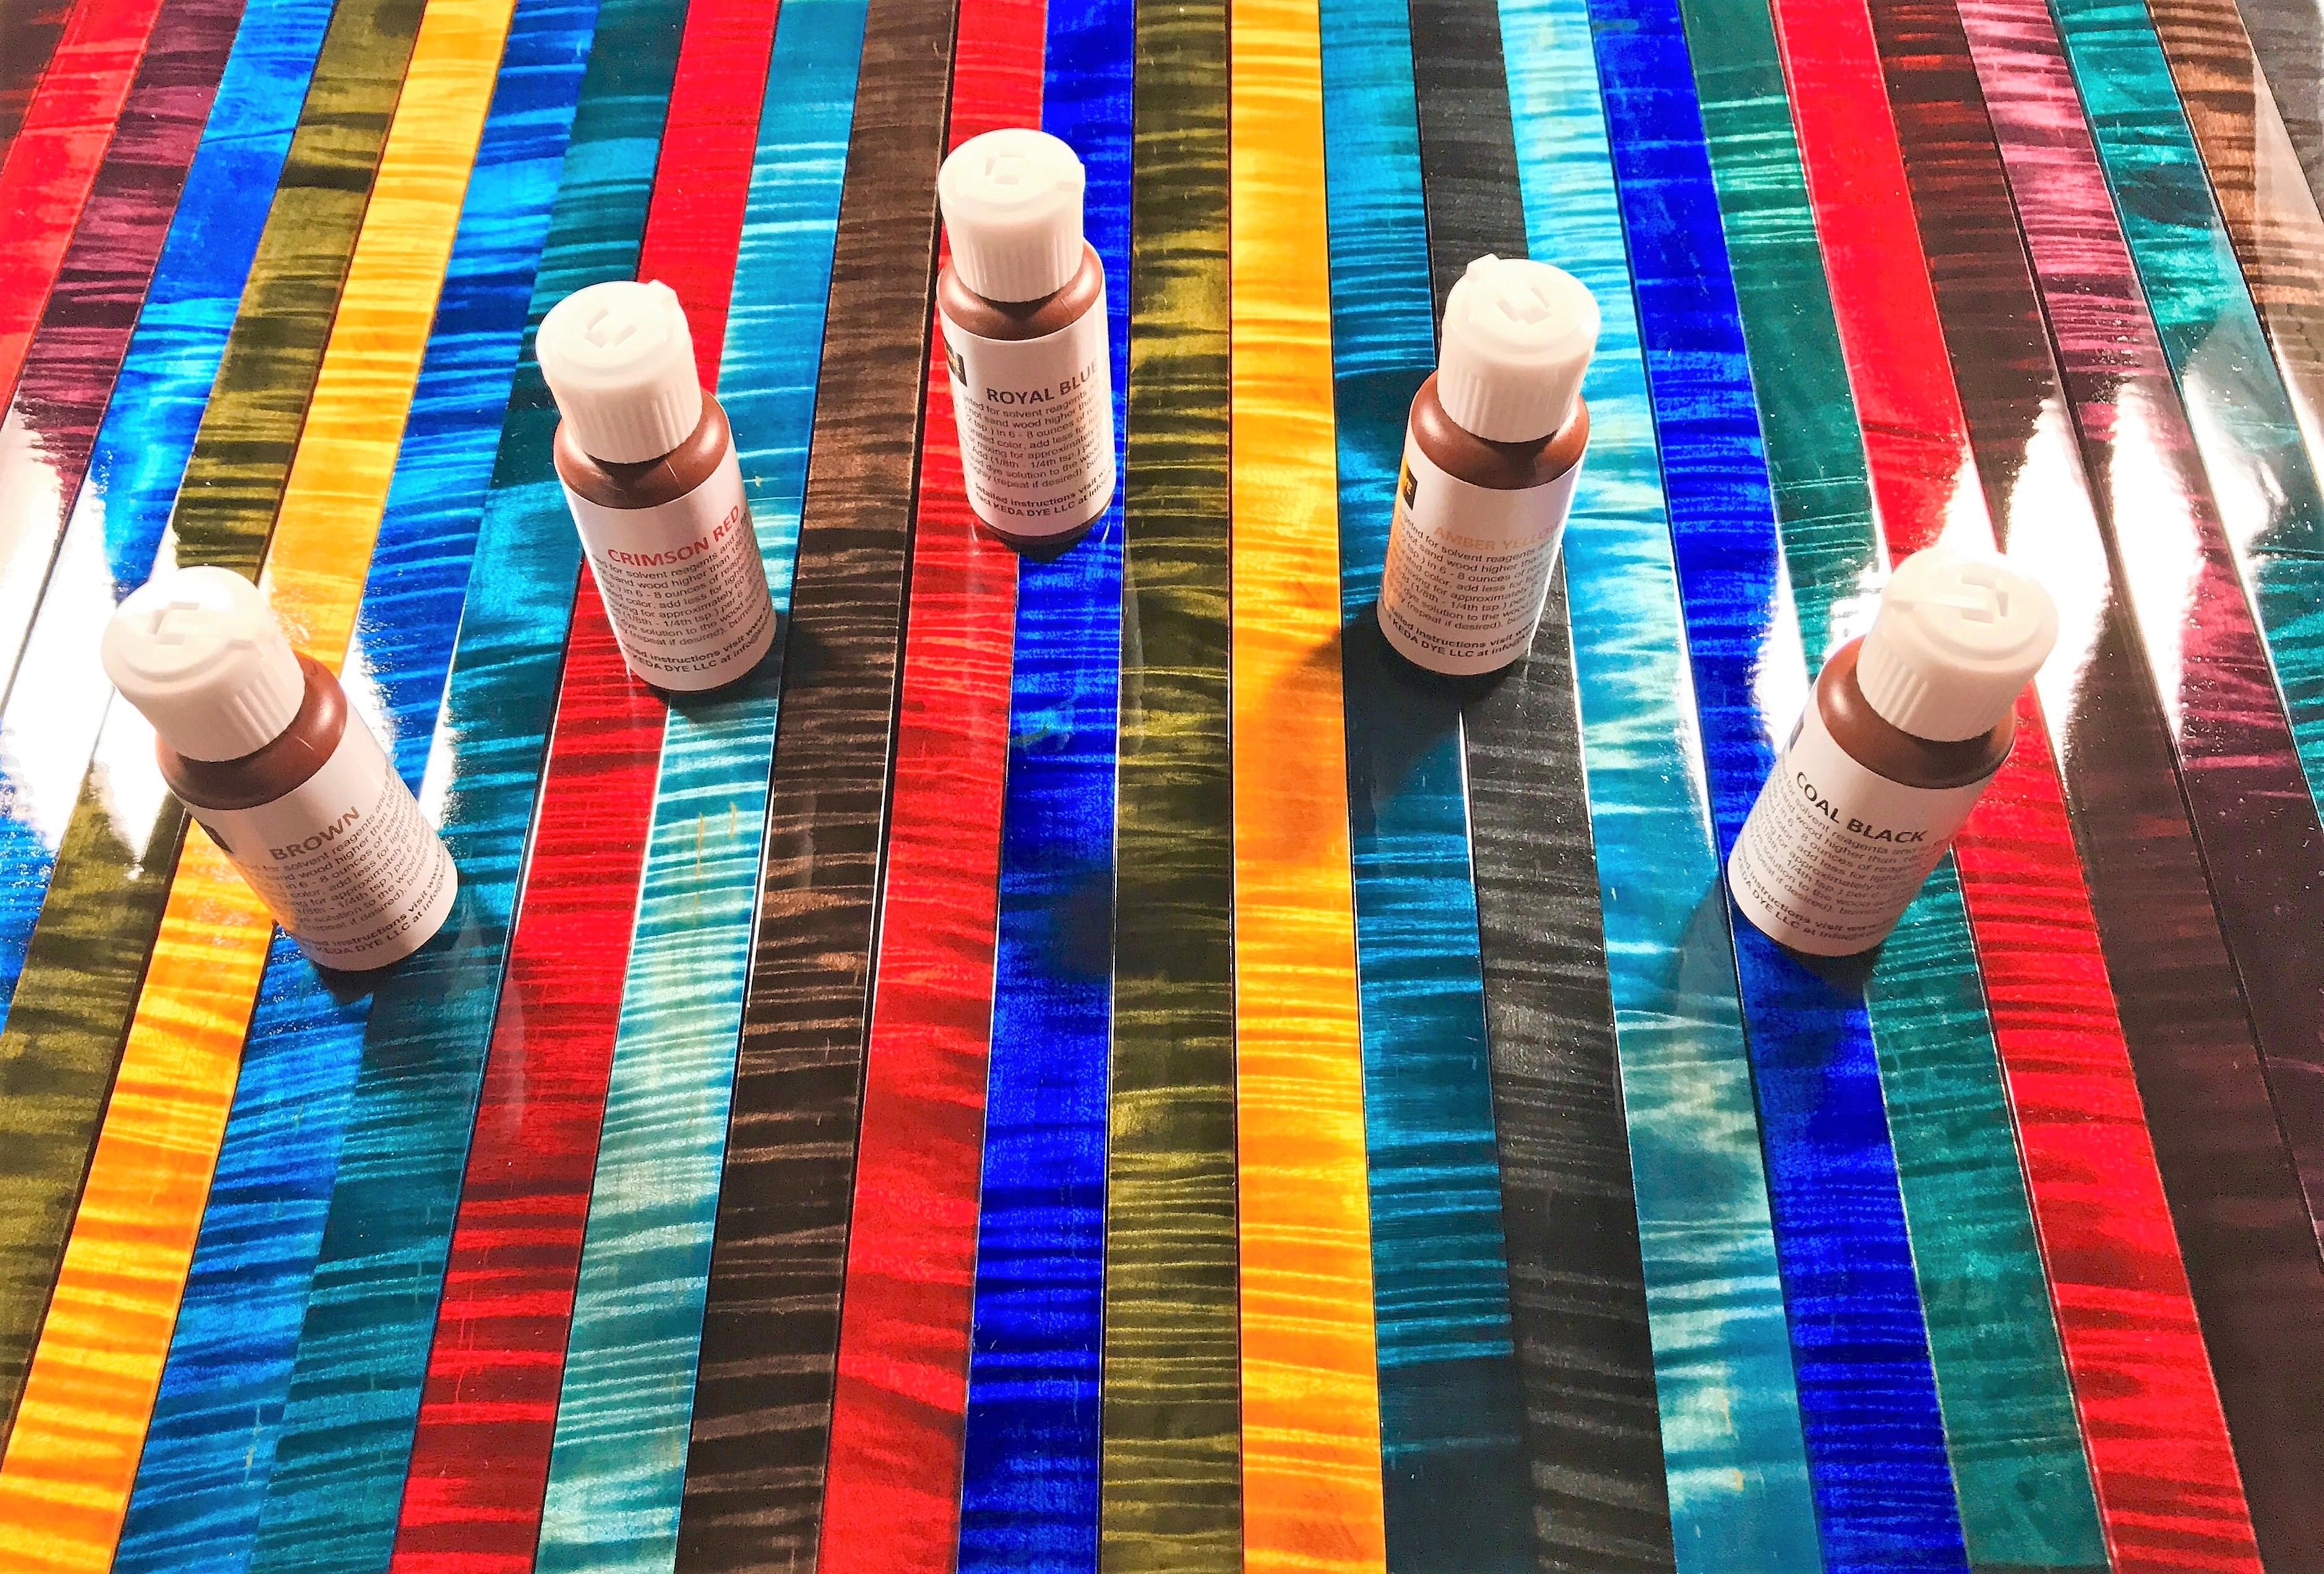
If you enjoy a more hands-on approach, create custom stains using eco-friendly dye kits. These kits often use plant-based pigments and natural binders, allowing you to experiment with unique colors while minimizing your environmental impact. You can enjoy the satisfaction of creating an eco-friendly stain tailored to your specific needs and preferences.

Make the Switch

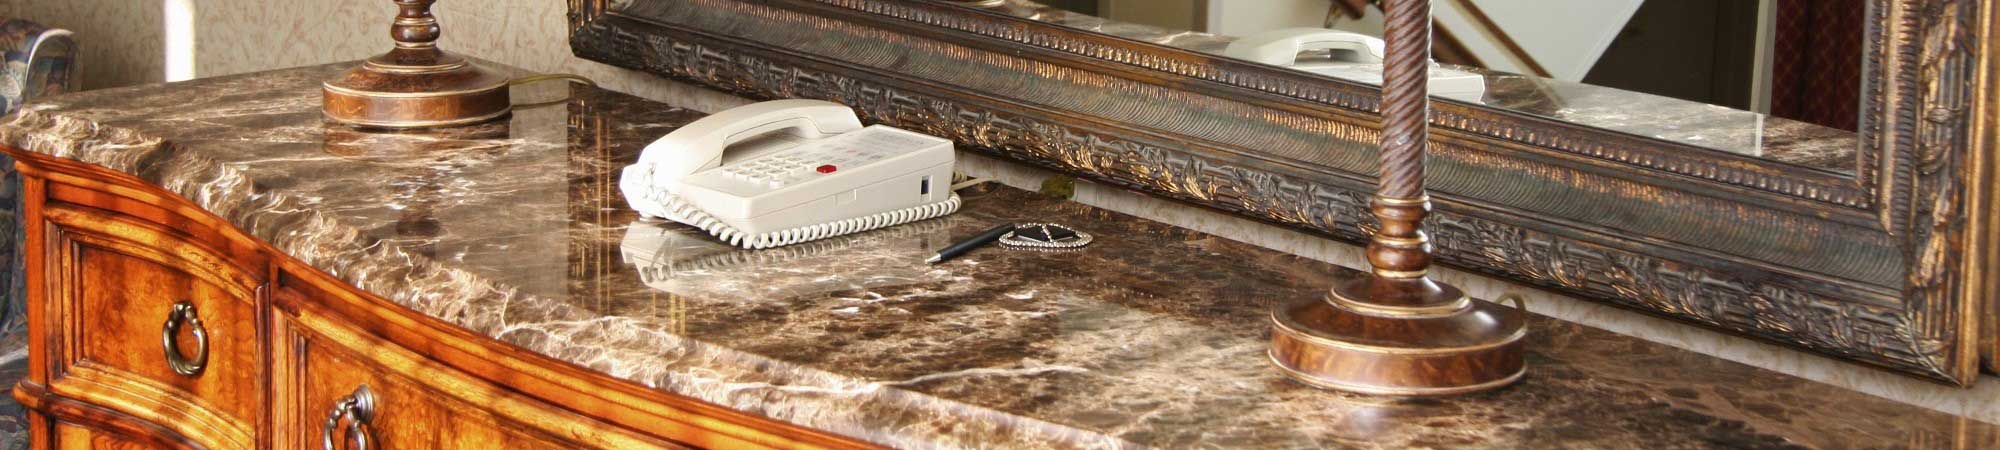
Every small choice we make can make a huge difference to Mother Nature. Switching to eco-friendly stains is a simple yet impactful way to reduce your environmental footprint. Whether you’re refinishing furniture or starting a new woodworking project, choose an eco-friendly stain to protect your health and the environment.

The Eco-Conscious Craft: Choosing Eco-Friendly Stains for Wood

In an age where sustainability is more than a buzzword, our choices as consumers and creators are under a green-tinted spotlight. Woodworking, once a domain of traditional craftsmanship, is evolving to meet eco-friendly standards. Enter the eco-friendly stain, the silent hero of the woodworker’s toolkit. Unlike their conventional counterparts, these eco-stains are champions of the environment, boasting low or zero VOC content and biodegradability.

Why Make the Switch

Eco-friendly stains are like a breath of fresh air—literally and figuratively. Traditional stains are known to release harmful volatile organic compounds (VOCs) into the air. Eco-alternatives offer a safer, cleaner working environment for the woodworker and a healthier end-product for the customer. Apart from the health benefits, using eco-friendly stains contributes to a reduced environmental footprint, aligning with the global shift toward sustainability.

The Palette of Options

The transition to eco-friendly woodworking does not need to come with a compromise on results. Today’s brands offer a broad spectrum of eco-stains and dye kits that deliver on both efficacy and earth-friendly promises. From vibrant wood dyes to rich pigmented stains, the selection is varied, ensuring that your project stands out and stands up for the planet.

Real Stories, Real Results

Woodworkers who have embraced the use of eco-friendly stains testify to their success. These green alternatives produce durable, high-quality finishes and are fully capable of showcasing the natural beauty of wood without the environmental guilt. With first-hand experiences like these, it’s clear that the future of woodworking is inherently tied to the eco-friendly story it tells.
For those who craft carefully, the eco-friendly stain is a brushstroke toward a brighter, more sustainable craft. It’s a small change reflecting a grand transformation in how we view and value our craft, environment, and future.

Gray Wood Stain Demonstration Using Wood Dye

Making Gray Wood Stain Using Keda Dye is Very Easy To Do.

The Mixture

The formula I used was:

To start, I mix 1/8th Tsp. of Keda Dye’s Coal Black Dye Powder (or 0.5 Grams) powder dye into 1 oz. warm water. I then added 7 oz. of Isopropyl alcohol to the 1 oz. water dye mixture. You could just use 8 oz. of warm water though. However, I liked the look and the faster dry time using the 70%-91% rubbing alcohol for my project. Diluting the Keda Coal Black powder dye creates this beautiful silver gray stain color, and has an amazing wood finishing depth.

Wood Used

The main project was made from a lower grade, solid wood “Curly Maple”. I also used a store bought Pine, as well as double A grade Quarter Sawn Maple, with a Rotary Cut Maple Veneer B side laid up on MDF core. The last two woods were primarily for showing the same gray dye stain color on different woods.

Wood Prep

On this project the prep work used for all the woods, consisted of sanding the wood with a 150 grit sandpaper. I did blow off the saw dust, with compressed air. This was also followed by wiping down the pre colored wood with the 91% Isopropyl Alcohol, and a lint free microfiber towel to remove any dust still lingering behind. After cleaning the wood with the alcohol, I allowed the rubbing alcohol to completely dry before the stain application process.

Wood Stain Application

I began the gray stain application process. I flooded the wood surface with the gray stain mixture, and worked the wood dye into the grains of the wood. The dyes absorbed and dried relatively quickly. Personally, I typically like to wipe the stained wood down with a clean, lint free cloth, prior to fully drying. This helps to lift off any loose wood dyes, and helps prevent any possible wood stain pooling.

For the second round for the gray dye solution, was to be a little more controlled during the application process. I did not flood the surface quite as heavily. I did wipe off the excess wood stain off fairly quickly in an effort to get that silver gray look.

Sealing The Gray Stain Into The Wood

Once I was certain the gray dye stain had fully dried, I followed that up with sealing the stained wood with a spray can of gloss lacquer from Deft. I did not wet sand or polish the lacquer at all. After all, these blanket holders are going to be in my closet. I did however, do an in-between coat sanding about an hour after the 2nd coat of lacquer had dried. 3 coats of the lacquer in total were applied, but you certainly could add more. This really was a very simple DIY project. Hopefully it has provided a good visual for getting that transparent, clean, gray wood stain look, and helps someone out.

You can buy Keda wood dye on our ordering information page located here: Buy wood dye

Wood Dye Tips & Tricks for Your Coloring Projects

Dying wood is an excellent option to add color to any project. When applied correctly, wood dye provides a unique and natural-looking finish highlighting its texture and grain. Achieve the best results by following different tips and tricks, such as choosing UV light-resistant pigments, mixing the dye constantly, and adding a finishing coat.

Choosing UV-Resistant Pigments

Look for pigments or a combination pigment with dye stain specifically formulated to protect the wood against UV rays. Over time, constant exposure to sunlight could fade the color of a non-UV-resistant dye. Countless dyes and mixtures could be used in coloring projects, but moderately saturated colors are ideal in case they fade away.

Mixing the Wood Dye Thoroughly

Before using the dye, it’s important to mix it thoroughly and periodically during the staining process. Some dyes settle at the bottom of the container, creating a concentrated layer that could result in uneven coloring. Therefore, stir it every 10 to 15 minutes during your coloring project.

Adding a Finish Coat

Applying a finish coat could protect the surface once the wood dye has been applied and dried completely. Finishing is crucial as it prevents color fading and ensures a smooth surface. Following the manufacturer’s instructions also ensures a successful and lasting finish coat.

Red epoxy resin on live edge using Keda red liquid dye

The Secret to Beautiful Wood Staining with Keda Dye Products

Are you tired of ordinary wood staining products that leave your furniture looking dull and lifeless? Look no further than Keda Dye products. Keda Dye is the expert in wood staining, with a range of high-quality products that will turn any dull piece into a captivating masterpiece. As an experienced and reliable provider of wood staining products, Keda Dye makes sure that all of its products come with a long list of unique qualities that set them apart from competitors.

Versatility – Keda Dye products are incredibly versatile, with an endless range of colors to choose from. Whether you are looking for a bold and vibrant finish or a subtle and natural tone, Keda Dye has you covered. Their products are perfect for DIY enthusiasts and professional woodworkers alike and can also be used on a wide variety of surfaces and wood types.

Quality – Keda Dye products are made with the highest quality ingredients, resulting in a product that produces rich, vibrant colors that will last for years to come.

Customizability – Highly customizable, Keda Dye products can be easily mixed with other colorants, pigments, or resins to create your own custom hue.

Easy to Use – Keda Dye products are straightforward to use, even for beginners. They come with clear instructions and quick-drying formulas that make them ideal for those with less experience with wood staining.

Vibrant Multicolored Alcohol Dyed Boards

How to Personalize Your Wooden Items with Liquid Dye

You don’t have to be a professional to achieve great-looking results with Keda Dye on wood. As the creators of the premier liquid dye in Manitowoc, WI, and the region, we’ve seen countless customers produce beautiful, customized wooden goods using our products. Follow these recommendations to create your own personalized creations with Keda Dye.

Choose the Perfect Color

Since our liquid dye products are extremely color-potent, your final result will feature a vibrant hue. Thus, it’s important to make sure you choose the perfect color for your vision. If you don’t see the shade you want among our base products, you can always experiment with mixing to create a truly one-of-a-kind hue.

Test the Dye First

If you’re inexperienced, you may not yet have a good eye for determining how a color will look when it is fully set in and dried. We advise that you test the color on a separate piece of similar wood to see for yourself how it will look and adjust your liquid dye mixture as needed.

Prepare the Wood Thoroughly

Using 150-180 grit sandpaper, sand down your wooden surface to open the material’s pores. This preparation makes it easier for the liquid dye to seep deep into the wood grain for a more layered and eye-catching look.

mahogany wood staining using brush

Mahogany Wood Stain: How to Get the Right Look

Adding a beautiful new stain to your wood is an easy way to breathe new life into it. But how do you find the right mahogany wood stain in Wisconsin? It actually isn’t that hard! First, mahogany has an open pore structure resembling that of walnut and oak. That means it stains easily. Want a flat, smooth feel? Apply a grain filler before staining. Are you looking for a more textured surface? Just apply the wood stain without grain filling.

As mentioned, mahogany will accept nearly all kinds of wood stains, but that doesn’t mean there aren’t better options than others. In this case, water-based stains offer the best results, especially if you are looking for a rougher texture. These stains will raise the grain and create that nice, textured feel you are after. You can then sand down the surface to make it smooth to the touch. Penetrating oil-based stains can also provide impressive results.

Something to remember is that some types of stains tend to do better when bringing out specific colors. If you are interested in learning more about choosing the right kind of stain to meet your project goals, you should reach out to your local wood staining professionals.

Can You Use a Wood Stain on Your Guitar?

Sometimes you love your acoustic guitar, but you don’t love the way it looks. Maybe the color doesn’t suit you, or it has simply seen better days. The good news is that you can refresh your instrument’s appearance easily with a guitar stain in Wisconsin.

All wood products can be stained or re-stained, and that includes wooden acoustic guitars. However, to achieve great-looking results, you must follow the correct process and use a reliable stain product. The easiest approach is to order a guitar dye kit that includes everything you need, but here are the basics of what you should know.

Remove Any Existing Finish: Be sure to remove any finish, coating, or wax that your guitar currently has. You’ll need to sand the surface until you have a smooth, clean canvas for your new stain.

Work Carefully: Guitars are surprisingly delicate instruments. While you’re working, be careful not to damage the soundboard, as this could alter your guitar’s sound. Furthermore, you may have to remove the bridge to achieve the look you want; be very cautious while attempting this.

Use a Good Sealer: After all your hard work, you want to ensure your new guitar stain lasts. We recommend using a high-quality UV-protecting wood sealer after the stain dries.

Color Aluminum Foil For Craft Project Using This Wood Dye As An Art Dye

Mixed Keda Crimson Red Liquid Wood Dye Into Nitro Lacquer and air brushed colored lacquer onto aluminum foil for an added texture as an art dye for this craft project and it worked great!

Coloring Wood With Shou Sugi Ban, Yakisugi, or Woodburning and Wood Dye

I pulled out my once trusted blow torch to try and do a wood coloring video using a Japanese wood burning technique called Shou Sugi Ban, and then color the wood with a wood dye from Keda Dye. Shou Sugi Ban is also known as Yakisugi which translates from Japanese to English as “Yaki” means to heat with fire, and “sugi” is cypress. The translation of Shou Sugi Ban translates into English as “Burn Cedar Board or Plank” However in this video presentation, the wood board used is Douglass Fir, and the overall bench has a chipboard work surface with a Pine frame.

I hope it helps give some ideas and demonstrates fairly well a new wood finishing technique.

Wood dye used in this project was the Keda Royal Blue Liquid Alcohol Dye, but any of the Keda Dyes will work just fine.


The blue dye was mixed into acetone at a ratio of 1 tsp blue dye to 12 ounces of acetone. I let the dye stain rest overnight, due to time constraints. The Douglass Fir 2″x 4″ wood beam was sanded with 150 grit sandpaper, just like the chipboard and Pine was when they were dye stained.

I really hope this helps someone out, and that it is a good demonstration which will help someone accomplish a nice Shou Sugi Ban wood burning finish, and possibly a Shou Sugi Ban with a beautiful wood color finish to enhance the look even further.

Thank you again for watching, as well as all of your support and comments related to woodworking.

#SugiBan #woodburning #dyestain #wooddye #kedadye