General Topics

Wood Dye Tips & Tricks for Your Coloring Projects

Dying wood is an excellent option to add color to any project. When applied correctly, wood dye provides a unique and natural-looking finish highlighting its texture and grain. Achieve the best results by following different tips and tricks, such as choosing UV light-resistant pigments, mixing the dye constantly, and adding a finishing coat.

Choosing UV-Resistant Pigments

Look for pigments or a combination pigment with dye stain specifically formulated to protect the wood against UV rays. Over time, constant exposure to sunlight could fade the color of a non-UV-resistant dye. Countless dyes and mixtures could be used in coloring projects, but moderately saturated colors are ideal in case they fade away.

Mixing the Wood Dye Thoroughly

Before using the dye, it’s important to mix it thoroughly and periodically during the staining process. Some dyes settle at the bottom of the container, creating a concentrated layer that could result in uneven coloring. Therefore, stir it every 10 to 15 minutes during your coloring project.

Adding a Finish Coat

Applying a finish coat could protect the surface once the wood dye has been applied and dried completely. Finishing is crucial as it prevents color fading and ensures a smooth surface. Following the manufacturer’s instructions also ensures a successful and lasting finish coat.

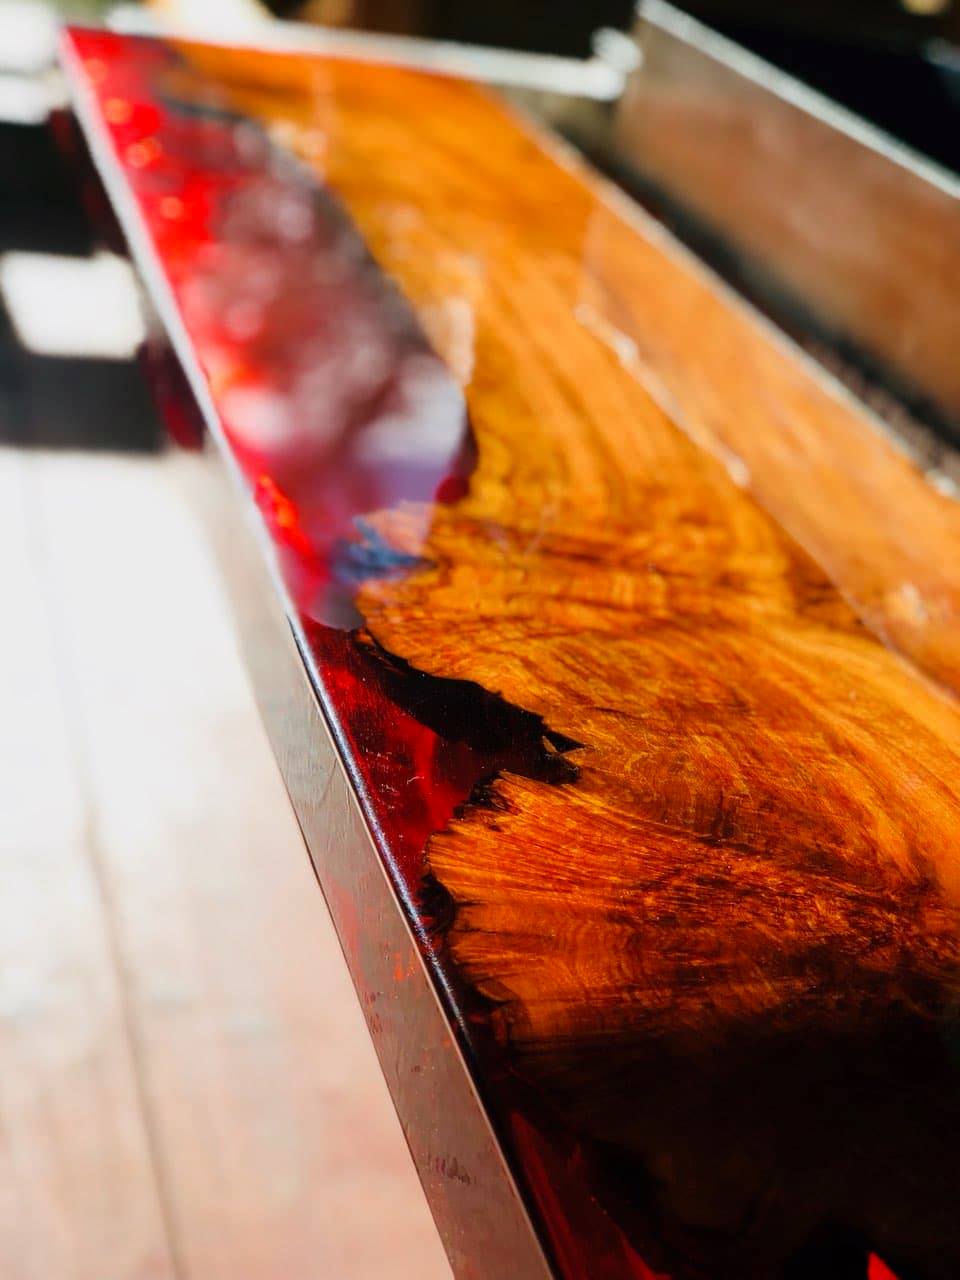
Red epoxy resin on live edge using Keda red liquid dye

The Secret to Beautiful Wood Staining with Keda Dye Products

Are you tired of ordinary wood staining products that leave your furniture looking dull and lifeless? Look no further than Keda Dye products. Keda Dye is the expert in wood staining, with a range of high-quality products that will turn any dull piece into a captivating masterpiece. As an experienced and reliable provider of wood staining products, Keda Dye makes sure that all of its products come with a long list of unique qualities that set them apart from competitors.

Versatility – Keda Dye products are incredibly versatile, with an endless range of colors to choose from. Whether you are looking for a bold and vibrant finish or a subtle and natural tone, Keda Dye has you covered. Their products are perfect for DIY enthusiasts and professional woodworkers alike and can also be used on a wide variety of surfaces and wood types.

Quality – Keda Dye products are made with the highest quality ingredients, resulting in a product that produces rich, vibrant colors that will last for years to come.

Customizability – Highly customizable, Keda Dye products can be easily mixed with other colorants, pigments, or resins to create your own custom hue.

Easy to Use – Keda Dye products are straightforward to use, even for beginners. They come with clear instructions and quick-drying formulas that make them ideal for those with less experience with wood staining.

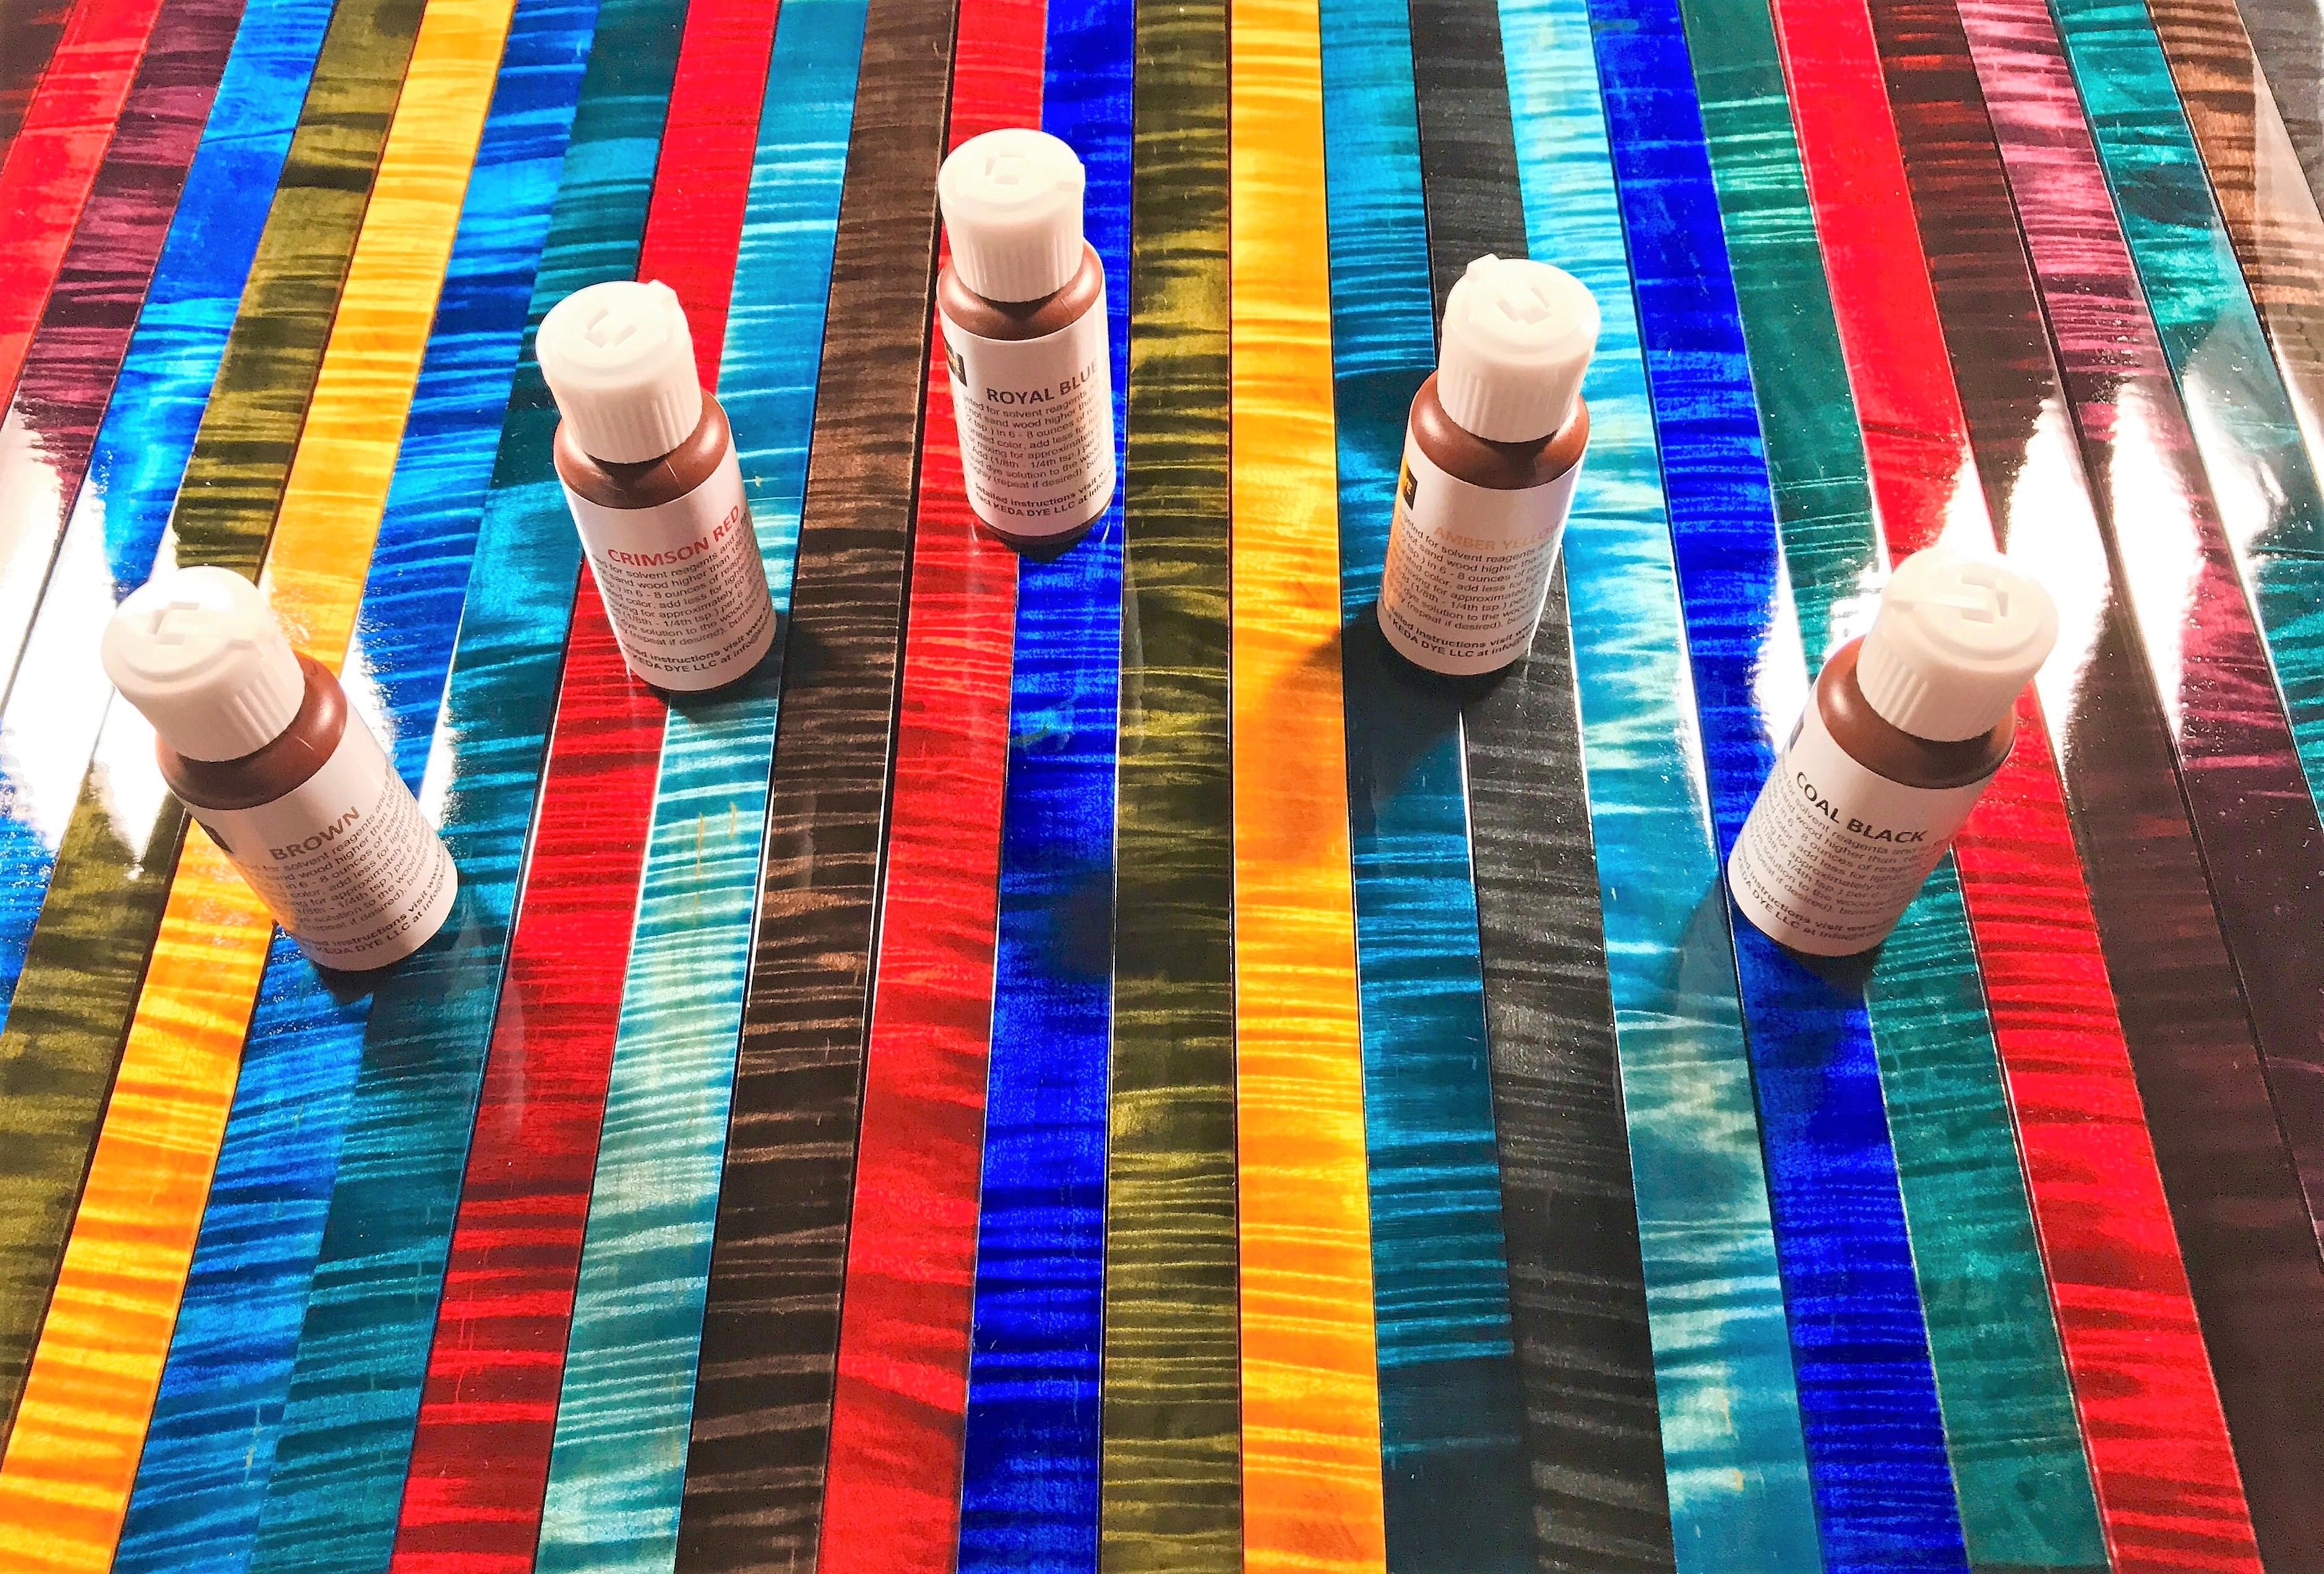
Vibrant Multicolored Alcohol Dyed Boards

How to Personalize Your Wooden Items with Liquid Dye

You don’t have to be a professional to achieve great-looking results with Keda Dye on wood. As the creators of the premier liquid dye in Manitowoc, WI, and the region, we’ve seen countless customers produce beautiful, customized wooden goods using our products. Follow these recommendations to create your own personalized creations with Keda Dye.

Choose the Perfect Color

Since our liquid dye products are extremely color-potent, your final result will feature a vibrant hue. Thus, it’s important to make sure you choose the perfect color for your vision. If you don’t see the shade you want among our base products, you can always experiment with mixing to create a truly one-of-a-kind hue.

Test the Dye First

If you’re inexperienced, you may not yet have a good eye for determining how a color will look when it is fully set in and dried. We advise that you test the color on a separate piece of similar wood to see for yourself how it will look and adjust your liquid dye mixture as needed.

Prepare the Wood Thoroughly

Using 150-180 grit sandpaper, sand down your wooden surface to open the material’s pores. This preparation makes it easier for the liquid dye to seep deep into the wood grain for a more layered and eye-catching look.