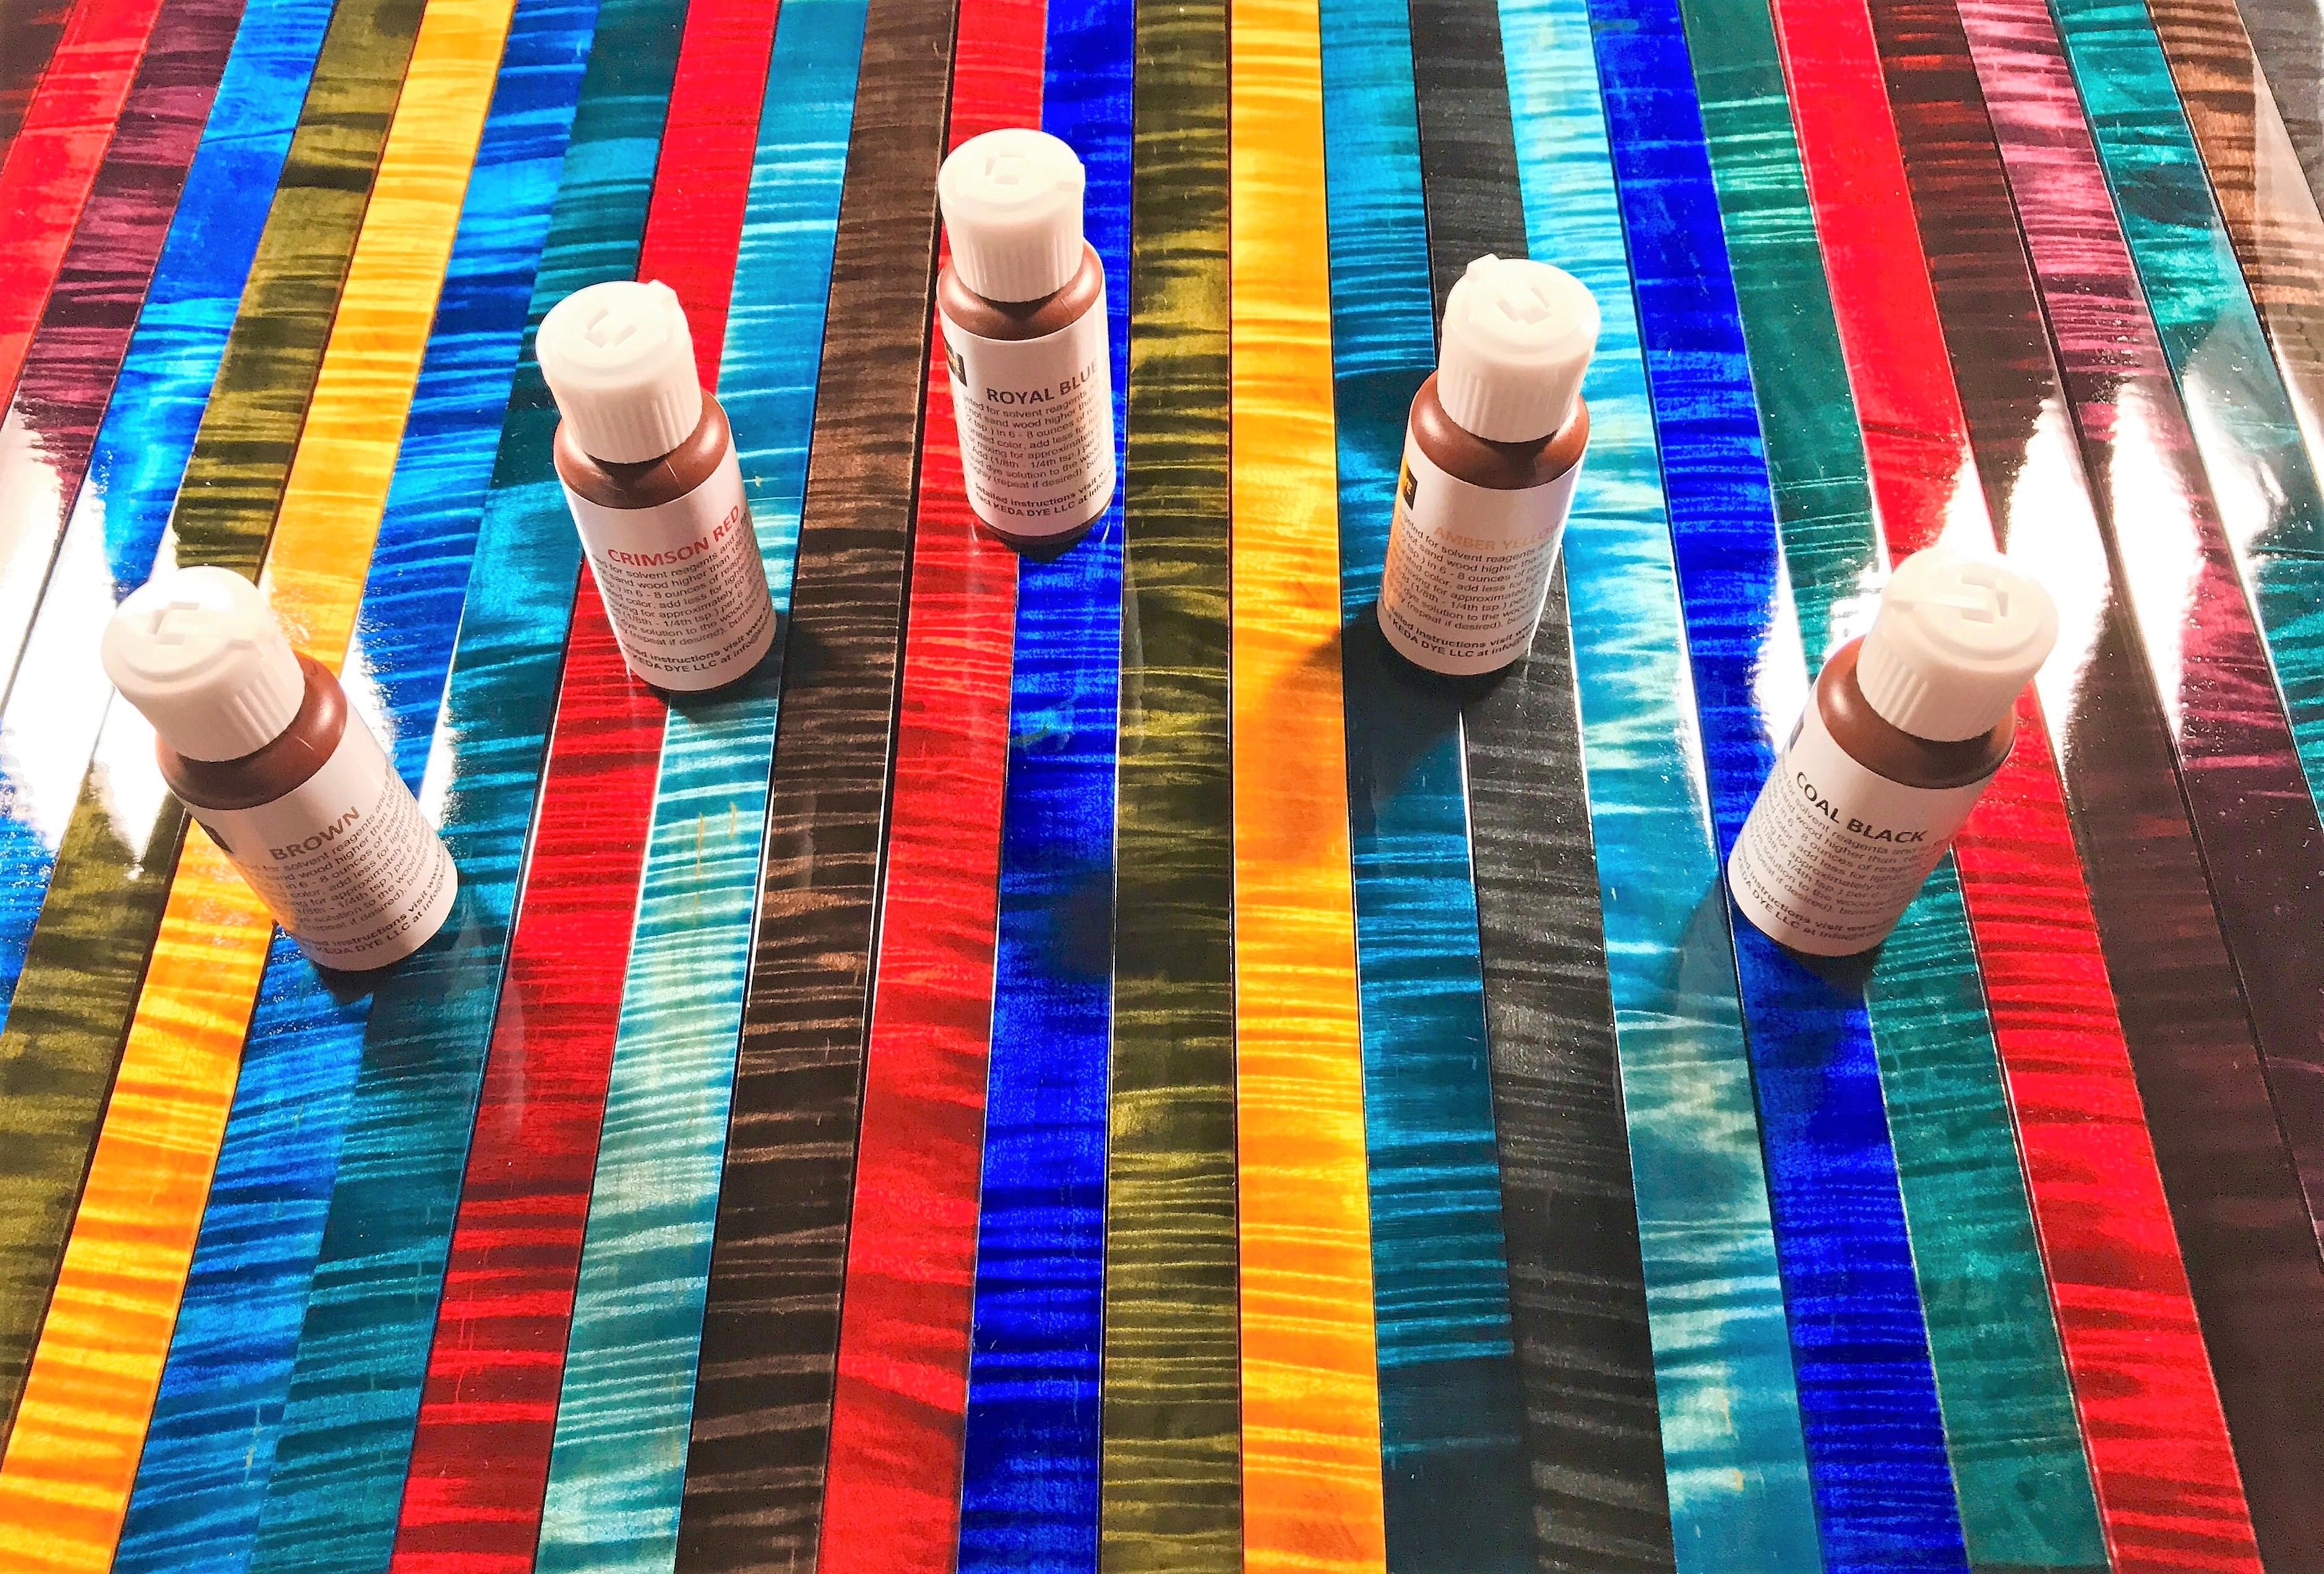
You don’t have to be a professional to achieve great-looking results with Keda Dye on wood. As the creators of the premier liquid dye in Manitowoc, WI, and the region, we’ve seen countless customers produce beautiful, customized wooden goods using our products. Follow these recommendations to create your own personalized creations with Keda Dye.
Choose the Perfect Color
Since our liquid dye products are extremely color-potent, your final result will feature a vibrant hue. Thus, it’s important to make sure you choose the perfect color for your vision. If you don’t see the shade you want among our base products, you can always experiment with mixing to create a truly one-of-a-kind hue.
Test the Dye First
If you’re inexperienced, you may not yet have a good eye for determining how a color will look when it is fully set in and dried. We advise that you test the color on a separate piece of similar wood to see for yourself how it will look and adjust your liquid dye mixture as needed.
Prepare the Wood Thoroughly
Using 150-180 grit sandpaper, sand down your wooden surface to open the material’s pores. This preparation makes it easier for the liquid dye to seep deep into the wood grain for a more layered and eye-catching look.


